Starting a new hive is an exciting venture for any beekeeper, whether you’re a novice or an experienced apiarist. One of the most crucial steps in this process is successfully introducing a queen bee into your hive. The queen is the heart of the colony, essential for its growth and productivity. Properly installing her ensures that the hive can flourish and the bees can thrive. In this guide, we’ll walk you through the step-by-step process of installing a queen bee, sharing tips and best practices to help your hive get off to a buzzing start.
Step 1: Prepare the Hive
Before introducing the queen, ensure your hive is ready. Clean the hive, set up the frames, and make sure it’s in a suitable location with access to water and flowers. If you’re starting with a new package of bees, gently shake them into the hive.
Step 2: Inspect the Queen Cage
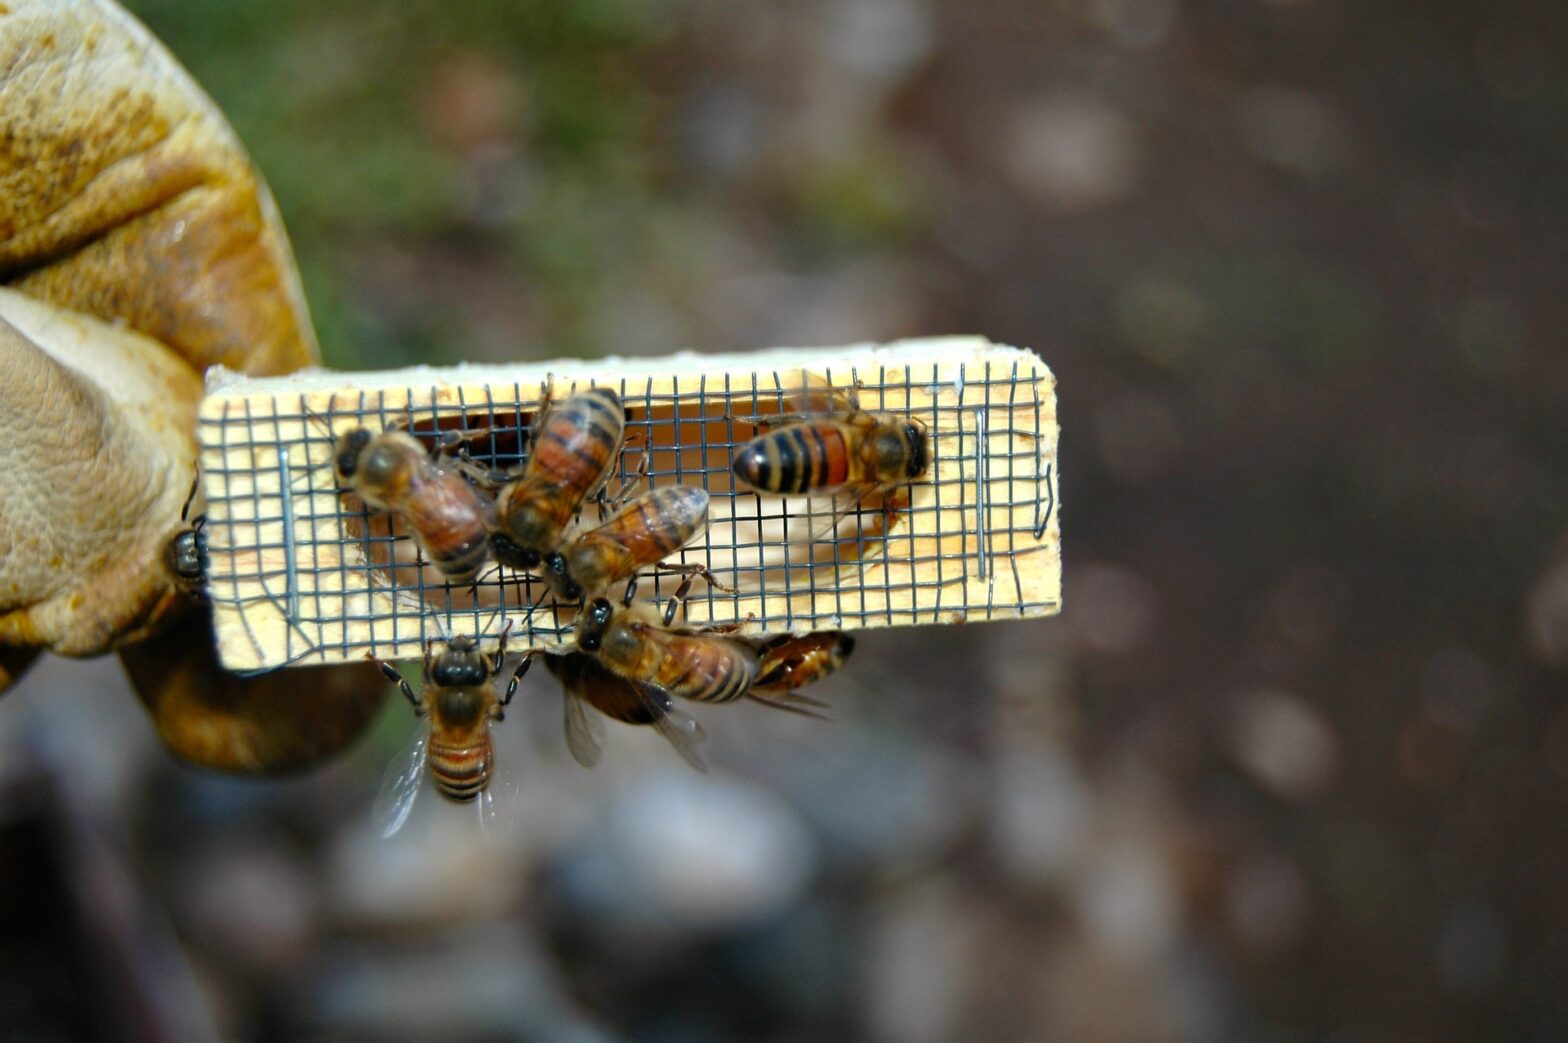
When you receive your queen bee, she will likely be in a small cage with a few attendant bees. Check that she is alive and healthy. The cage typically has a candy plug that the worker bees will chew through to release her.
Step 3: Position the Queen Cage
Place the queen cage between two central frames in the hive. Ensure the candy plug is accessible to the worker bees. The cage can be secured with a rubber band or placed between the frames so it stays in position.
Step 4: Release Worker Bees
If you’re using a package of bees, release the worker bees into the hive before introducing the queen. This allows them to start acclimating to their new home and ensures they are ready to accept the queen.
Step 5: Monitor the Release
Over the next few days, monitor the hive to ensure the worker bees are accepting the queen. The bees will chew through the candy plug, gradually releasing the queen. Avoid opening the hive too frequently as it can disturb the bees.
Step 6: Check for Acceptance
After about 3-5 days, check the hive to see if the queen has been released and accepted. Signs of acceptance include the bees being calm and attending to the queen. If the queen is still in the cage, you may need to manually release her by carefully removing the cage and allowing her to walk into the hive.
Step 7: Observe and Support
Once the queen is released and accepted, continue to monitor the hive. Look for signs of egg-laying and overall hive activity. Providing supplemental feeding with sugar syrup can help the colony establish itself more quickly.
Step 8: Maintain Hive Health
Regular inspections and maintenance are crucial for the health of your hive. Check for signs of disease, pests, and ensure the queen is laying eggs. A healthy hive will grow and flourish under the care of a diligent beekeeper.
By following these steps, you can ensure a smooth transition for your queen bee and set the foundation for a thriving, productive hive.
